How to set up and use Drip Send for better outreach
This is the fastest way to go from install to quality replies: connect SMTP, import contacts, preview every message, and pace your queue conservatively.
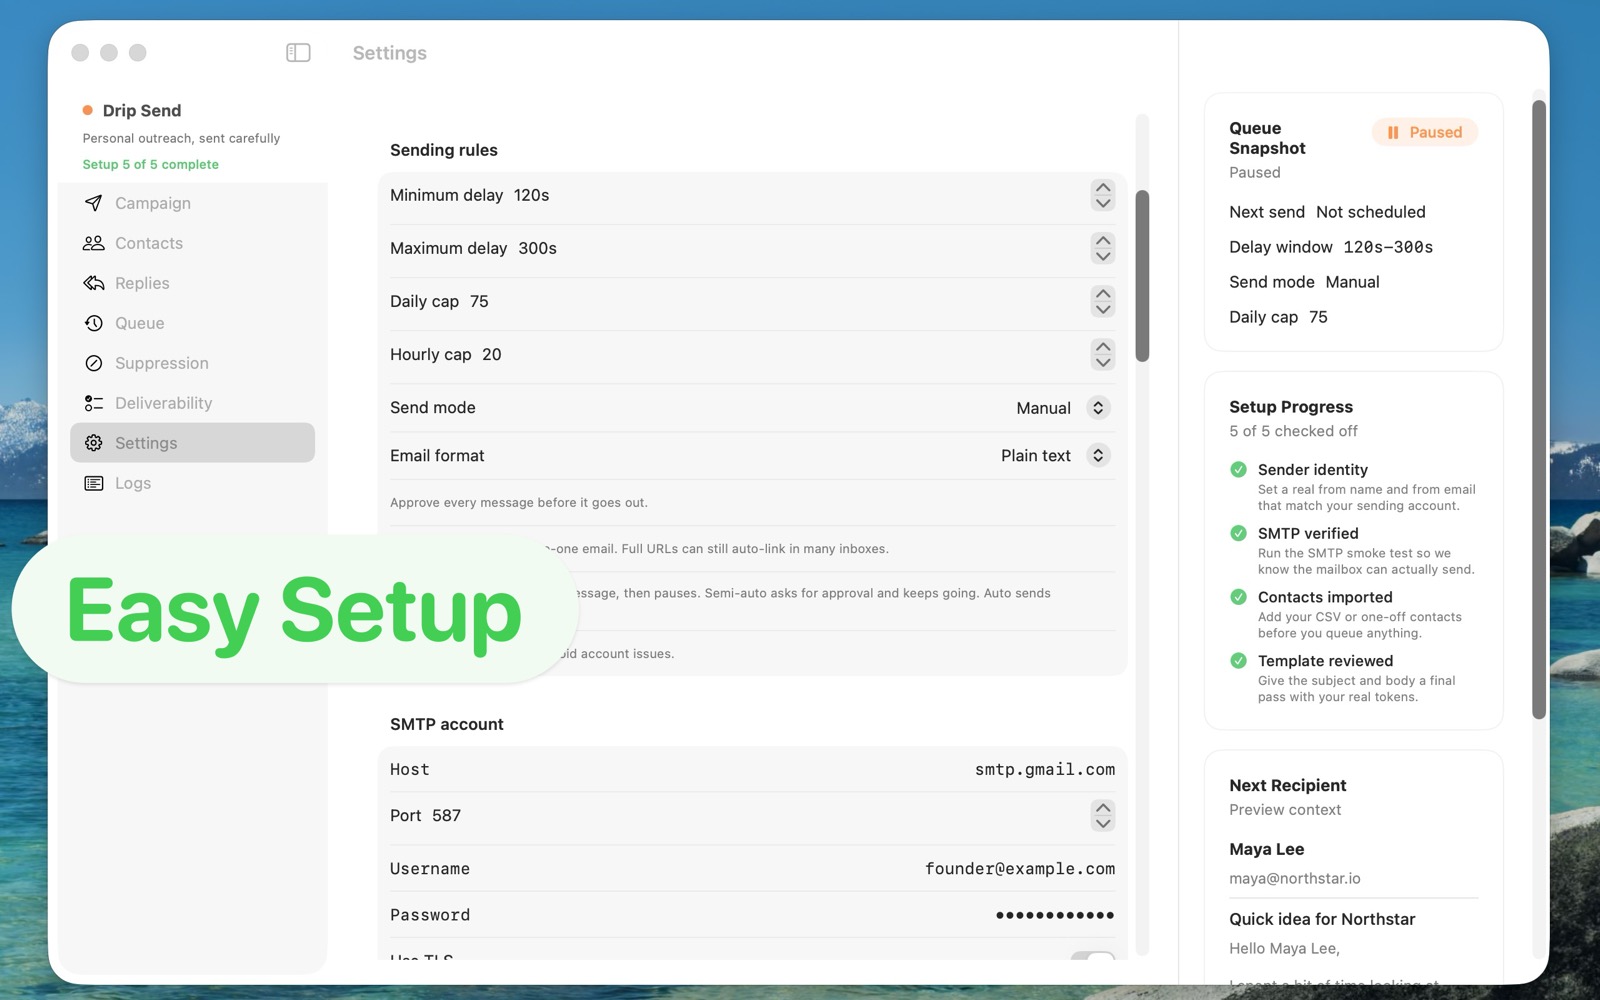
Step 1: Connect your SMTP account
Open Settings and enter SMTP host, port, username, and password (or app password). Verify with a smoke test before importing contacts. This confirms authentication, routing, and sender identity are aligned.
Step 2: Import a clean contact list
Upload a CSV with essential fields only: email, first name, company, and any personalization columns you actually use. Remove stale or uncertain records first to protect deliverability.
Step 3: Build your first message sequence
- Start with one clear first-touch email.
- Add one or two follow-ups, not five.
- Use short, plain language and specific context.
Step 4: Configure safe queue limits
Set daily and hourly caps based on mailbox history. If a mailbox is new or recently inactive, begin lower and increase only when reply and bounce signals remain healthy.
Step 5: Review before sending
Use the pre-send view to verify merged values, tone, and subject line. This one step prevents most embarrassing outreach mistakes.
Tips to get the best results
- Prioritize message quality over sequence length.
- Pause quickly when errors or unexpected responses appear.
- Use suppression rules so replies and unsubscribes are respected automatically.
- Batch in small groups and iterate weekly.
Related guides
Email outreach with privacy on Mac
Keep list data local while running higher-quality campaigns.
Email deliverability guide (SPF, DKIM, DMARC)
Set up authentication correctly to improve inbox placement.
Sending limits on your email server
Use daily/hourly caps to protect sender reputation.
Ready to run your first campaign?
Use Drip Send to set up outreach once, then run it with more confidence and fewer deliverability surprises.
Go to Drip Send Open App Store