Apple & Mac
How to Prepare Your Mac for Sale: A Backup and Erase Checklist
A careful checklist for preparing a Mac for sale or trade-in: plan the transfer, make and verify a backup, sign out, erase, and confirm the handoff.
Published September 16, 2026 · Michael at Yuzool
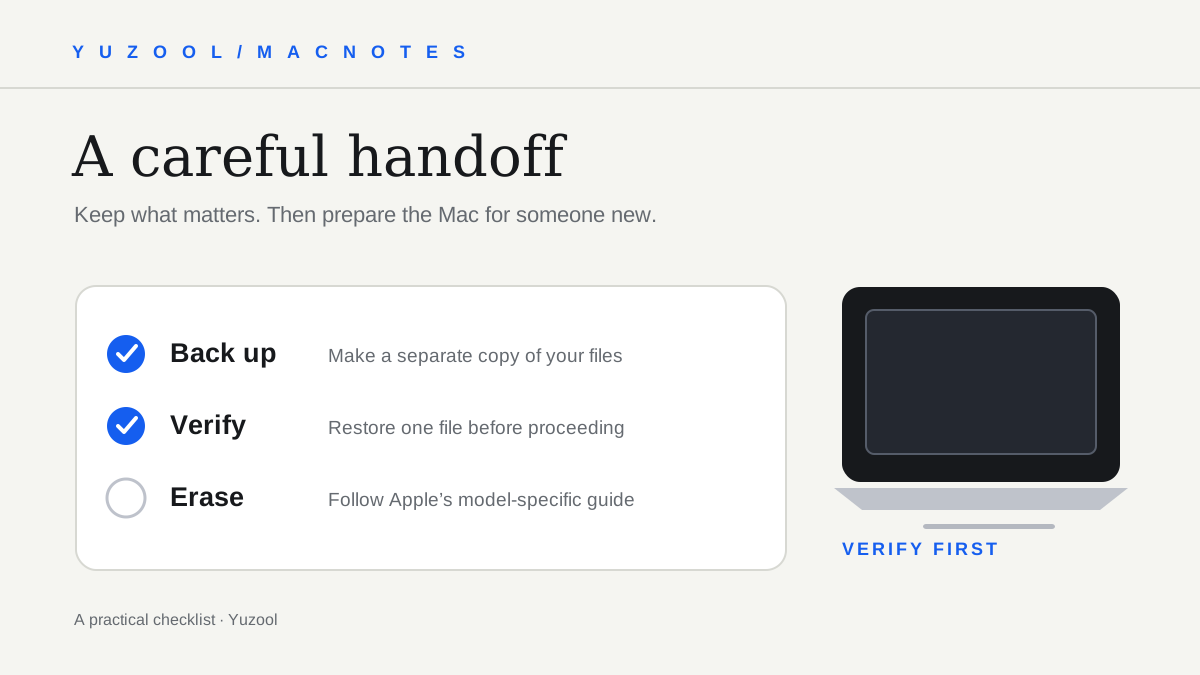
Preparing a Mac for sale is two jobs: keep the files and access you still need, then leave the computer ready for its next owner. The risky moment is erasing first and discovering later that a file, password, photo library or license existed only on that machine.
Use this checklist as a planning aid, not as a replacement for Apple’s model-specific erase instructions. The exact steps differ by Mac hardware and macOS version. Before erasing anything, open Apple’s current guide to what to do before you sell, give away or trade in your Mac and follow the path that matches your computer.
1. Decide whether you are transferring or starting fresh
If you are moving to another Mac, decide how you will move your data before resetting the old one. Apple supports migration between Macs, and a separate backup gives you another recovery route if the transfer is interrupted or you later notice something missing.
If you are selling or trading in the Mac without a new computer ready, make a backup and keep it until you have confirmed that the files you care about are accessible somewhere else. Do not treat iCloud sync as your only independent backup: synced changes can propagate, and some files or app data may not be included in the way you expect.
Apple’s Mac backup guide explains Time Machine and other options. Pick one that suits the data you have, and leave enough time for it to finish.
2. Make a backup—and check it before proceeding
Start a Time Machine backup or use the backup method you already trust. Keep the Mac connected to power and the backup destination connected while the process runs. The exact time depends on how much data needs to be copied and the connection you use.
Then check the result. Open the backup destination and confirm that it contains a recent backup. Restore a small, unimportant file to a temporary location to make sure you can retrieve something. If you use a different backup service, follow its verification and restore instructions too.
Make a short list of things that are easy to overlook: Desktop and Documents, Downloads, Photos libraries, local project folders, browser bookmarks, email archives, virtual machines, and files stored inside specialist apps. Check whether those apps store data locally or sync it separately. If you use a work-managed Mac, ask the administrator about company data and device-management steps before making changes.
Do not erase the computer while you are still unsure whether a backup contains the material you need. Resolve the uncertainty first.
3. Prepare accounts, apps and accessories
Make sure you can sign in to the accounts you will need on your next device. Save recovery codes and confirm that your password manager or authentication method is available somewhere other than the Mac being erased. If a paid app has a device limit, check the publisher’s instructions for deactivating or moving its license.
Gather the charger and any accessories you plan to include. Unpair accessories you are not transferring when appropriate, and check whether their displayed names contain personal information. If you are transferring an AppleCare plan or need to cancel one, check the plan terms separately.
These details are easy to do after the files are safe but before the reset, when the computer is still available and signed in.
4. Follow Apple’s erase path for your exact Mac
Apple’s current guide explains when Erase All Content and Settings is available and what to do when it is not. Availability depends on the Mac’s hardware and installed macOS version; older Macs may require a different procedure. Do not improvise by deleting folders, removing an account manually or using a random sequence copied for another model.
Read the instructions through before you begin. Make sure you have the time, power and network access the process requires. If the Mac will not start, is managed by an employer, or shows an unfamiliar activation or firmware prompt, stop and use Apple Support or the responsible administrator rather than guessing.
Once you start an erase, assume that local data will be removed. The backup check above is the safeguard—not the belief that the erase process can be undone.
5. Confirm the computer is ready for its next owner
After the process, follow Apple’s instruction about where to leave the Mac. In many handoffs, the goal is to let the new owner complete setup themselves rather than signing in with your account again. Avoid entering your personal Apple Account during the new-owner setup screen.
Before handing it over, check that you have the power adapter, any agreed accessories and the right transfer or sale paperwork. Keep your backup until you have verified your files on the replacement device and no longer need the old copy.
A short pre-sale checklist
- Choose transfer, sale, trade-in or recycling—and plan the data move.
- Make a separate backup and test that at least one file can be restored.
- Check local app data, photo libraries, project folders and work-managed data.
- Confirm account recovery and software-license steps.
- Read Apple’s current erase instructions for this Mac before starting.
- Leave the Mac at the stage Apple recommends for a new owner.
- Keep the backup until the new setup and files are confirmed.
The calmest handoff is the one where the erase is the final step, not the first. Verify what you need, follow the official instructions for your specific Mac, and give yourself enough time to stop if something does not match the guide.