Makers & Design
How to Run a Usability Test for a Small Web App
A practical plan for testing a small web app with real users: choose one task, recruit relevant participants, observe without leading, and turn findings into fixes.
Published September 16, 2026 · Michael at Yuzool
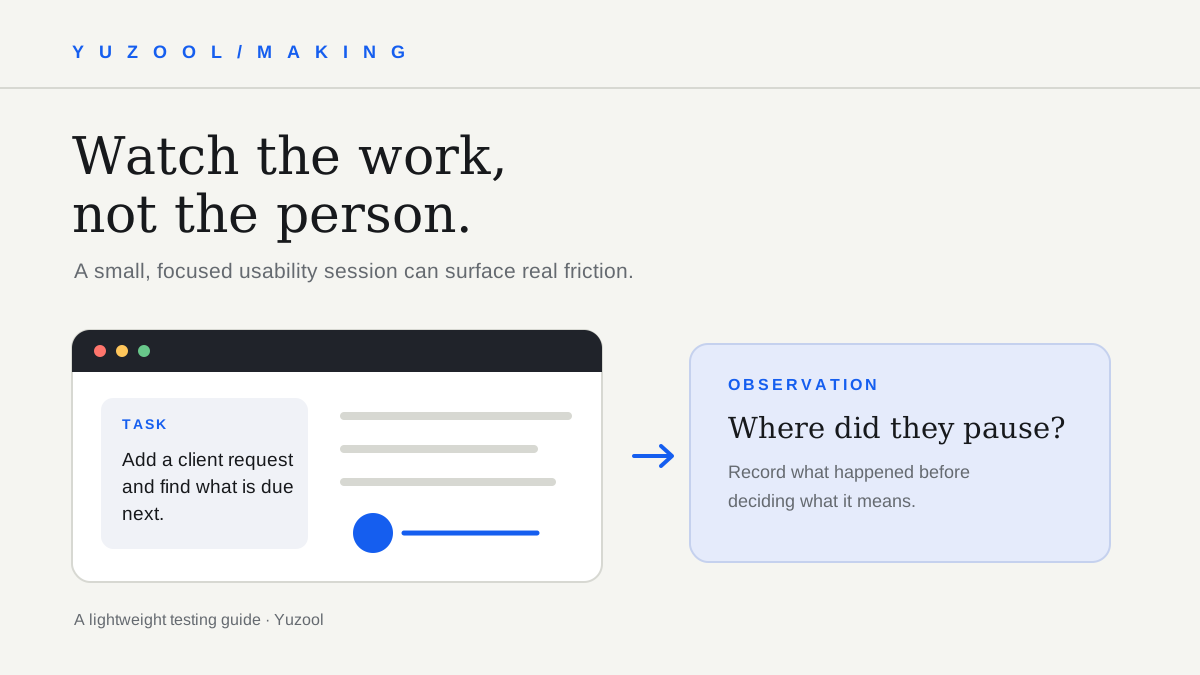
A usability test does not need a lab, a research team or a polished prototype. For a small web app, a few focused sessions can show where a real person hesitates, misunderstands a label or takes a different path from the one you expected.
Treat the exercise as a way to discover problems, not to prove that the product is already easy to use. A handful of sessions can uncover useful friction, but it is not a statistically representative measurement of every future customer.
Choose one question before you recruit
Start with something narrow enough to observe. “Do people like the product?” is too broad to guide a session. Try a question such as:
- Can a new user create and share their first project without help?
- Can someone find the setting that changes an email reminder?
- Can a client understand which step of a request is waiting for them?
Choose a task that matters to the product’s core promise. If the app has several major workflows, test one at a time instead of asking a participant to tour the whole interface. Write down what you hope to learn and what evidence would change your next design decision.
Recruit people who resemble the intended user
Invite participants who match the situation the app is designed for. If it is a scheduling tool for independent consultants, a friend who never schedules client work may not be the most informative tester. You do not need a perfect sample, but be honest about who took part and whose needs remain untested.
For an early exploratory round, a small number of conversations is often manageable for a solo builder. Five sessions can be a useful planning target—not a magic threshold or proof that every usability issue has been found. If the audience has very different roles or experience levels, separate those groups or run another round.
Tell participants what you are asking them to do, how long it will take and whether you will record the session. Get their agreement before recording. Use a test account and fictional data; do not ask people to expose private client, health or financial information just to make the demo feel realistic.
Prepare a realistic task, not a tour
Write a short scenario in the participant’s language. Give enough context to make the task understandable, but do not tell them which button to press.
For example: “You have a new client request for a landing page. Add it to the workspace and show where you would check what is due next.” This gives a goal without dictating the interface path.
Check that the prototype or test environment supports the task. Seed only the minimum sample data needed, remove confusing leftovers, and keep a note of any parts that are simulated. A participant should not waste time on a dead end that exists only because the demo was not prepared.
Open the session without making it a test of the person
Explain that you are evaluating the product, not the participant. Ask them to narrate what they expect as they work, and remind them that it is fine to be unsure. Then give the scenario and let them proceed.
Try neutral prompts when the person goes quiet:
- “What are you looking for right now?”
- “What did you expect that control to do?”
- “What would you try next if I weren’t here?”
Avoid “Wouldn’t you click here?” or “Do you like this?” Those questions point toward an answer or invite polite approval instead of revealing how the interface behaves on its own.
Observe before you explain
Let the participant try the task before rescuing them. Note where they pause, what they read, which controls they try, what they say and whether they reach the intended outcome. Record observable behaviour separately from your interpretation.
For example:
- Observation: The participant opened Settings, then returned to the project page and searched for the reminder date.
- Interpretation to test: The reminder control may be hard to discover from the project context.
Do not argue with a participant’s interpretation or explain what the interface was supposed to mean. If they misunderstand a label, that is evidence about the label in context. After the task, ask what they thought would happen and what information they needed.
Turn notes into a small, prioritized list
After each session, write down the task outcome, the point of friction, its impact and a short supporting observation. Look across sessions for repeated patterns, but do not ignore a severe problem simply because only one person encountered it. Conversely, do not assume one comment represents the entire audience.
Prioritize findings by asking:
- Does this block the core task or create a meaningful risk?
- Is the problem understandable from the evidence we recorded?
- Can we make a small change and test whether it helps?
Separate a confirmed usability problem from a proposed solution. “People missed the next-step link” is a finding. “Move it to the top right” is one possible fix that still needs consideration.
For issues that need engineering follow-up, use a reproducible format. The bug report template helps record the starting state, steps, expected result and what happened instead.
Close the loop
Choose one or two high-value changes, make them, and test the same task again with someone who has not already seen the interface. Keep the original notes so you can compare what changed; do not rewrite the first round as if it had always been clear.
A lightweight usability test is successful when it makes the next product decision less speculative. Keep the task small, listen more than you explain, and treat the result as a useful signal—not a verdict on the entire product.